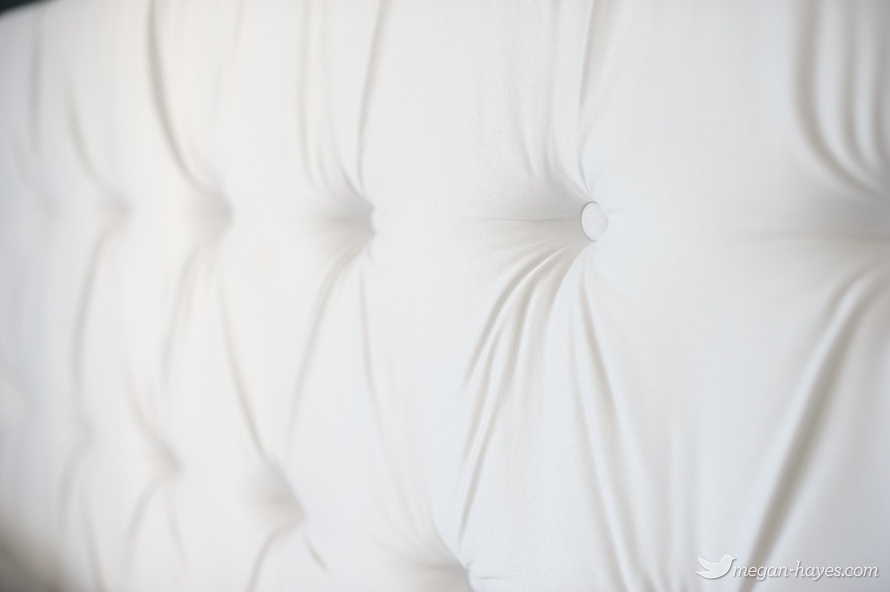
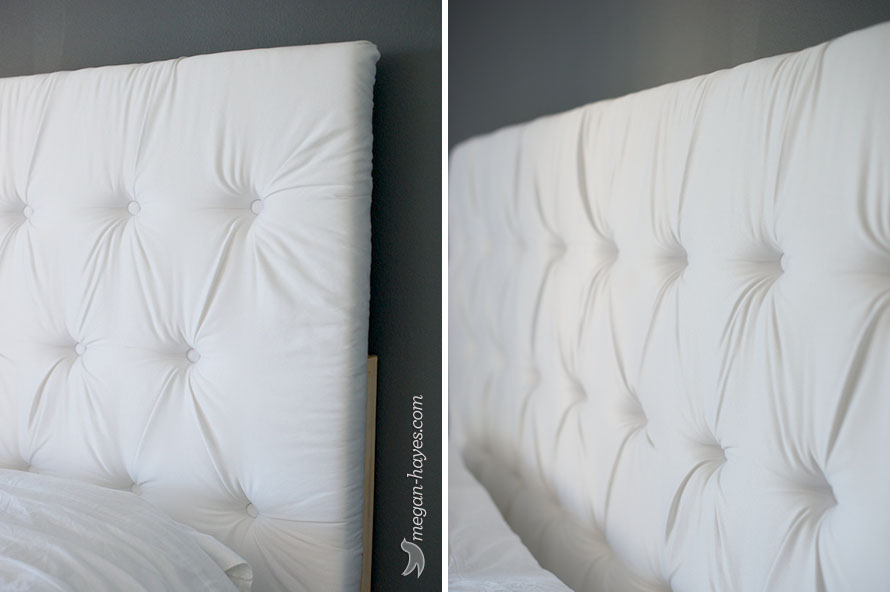
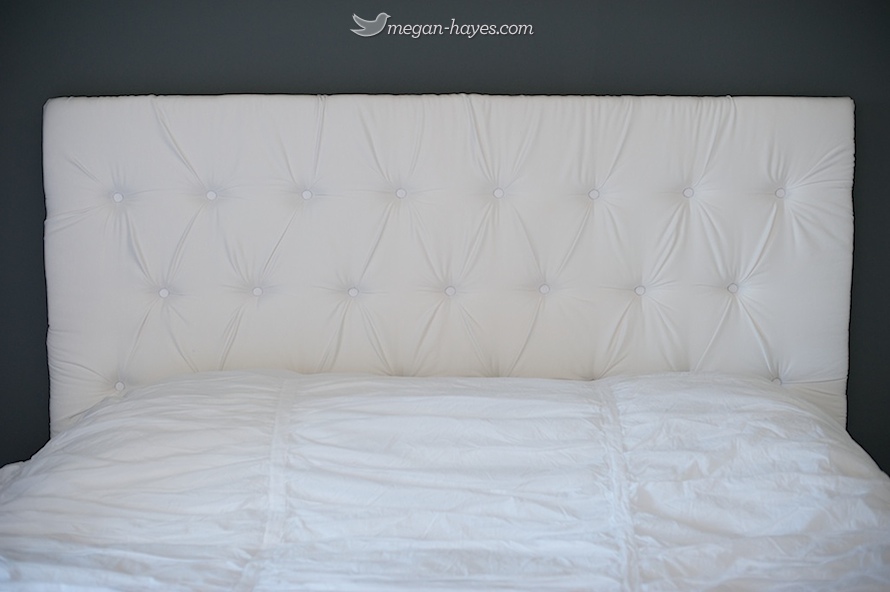
Ok, so I’ve made a goal this year to blog a few more personal posts and this is my first for 2012! I tackled this DIY Tufted Headboard project just after we moved and started setting up our new master bedroom. I am a huge fan of Pinterest and that’s where I got the idea. If you don’t know what Pinterest is than you haven’t lived. 🙂 I love to make things and I had fun with this project even though I probably did make a few too many trips to Home Depot and JoAnn’s from not being prepared.
This project was a little bit more difficult than I though it would be but still was a fun project I love how it turned out. I read many blog posts before, during and even after my project. Below is a list of the most helpful ones.
- Jenny Komenda Interiors/Little Green Notebook
- Dream Book Design
- Centsational Girl
- Project Pretty
- Jillian Harris
Here’s a great video from Design Sponge:
And another with more details from The Upholstery Studio. They have several on YouTube.
I’ll give you some of the details I remember but the other blogs will help a lot too. If you are planning to give this project a go for yourself than read a few postes in their entirety. I wish I had done this as each of them have a little different way of doing it and each have their own super helpful tips.
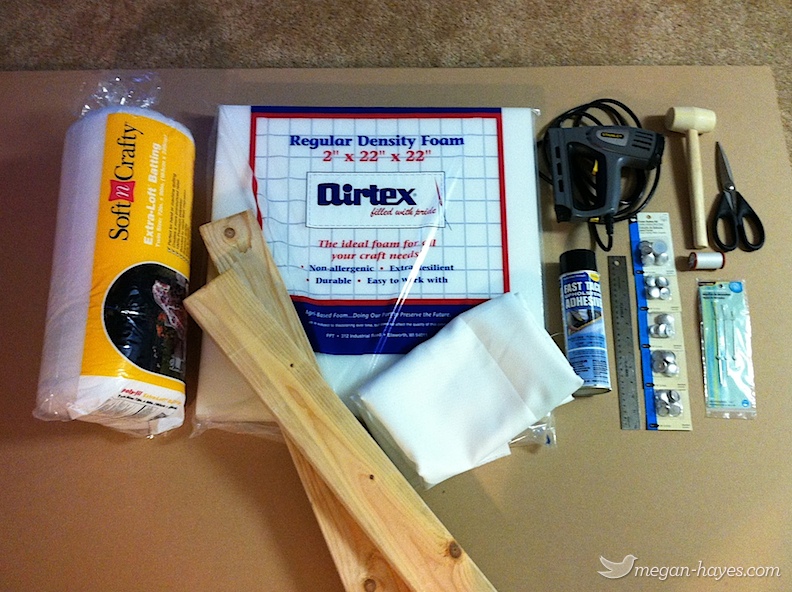
I purchased most of my supplies on sale and with coupons at JoAnn’s. I purchased the wood, screws and bolts from Home Depot. They also cut my wood for free to the size I needed. I spent approximately $100 in total on this project.
Supplies:
- Staple Gun
- Batting
- Regular Density Foam
- Spray Adhesive
- Ruler
- Tape Measure
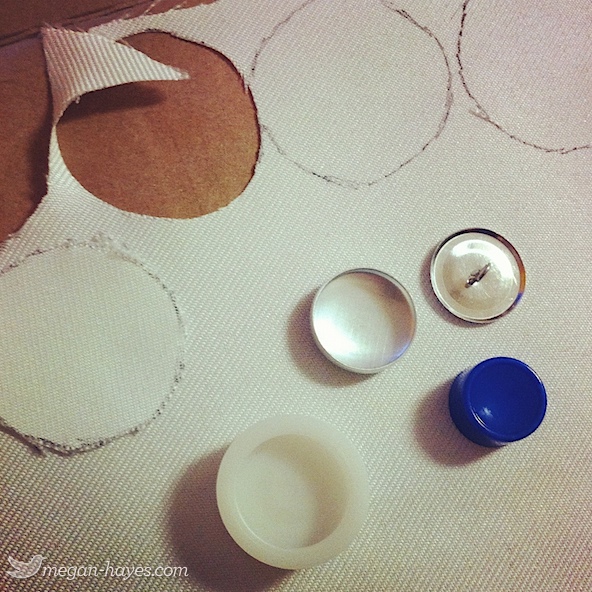
- Button Kit & Buttons (You may want to have a few extra buttons on hand. You may get a few duds.)
- Rubber Mallet
- Scissors
- Upholstery Needle
- Upholstery Thread (tough kind)
- Fabric
- Medium Density Fiber Board
- Drill
- 2×4’s (This is what I used for my king size headboard. You could probably get something smaller for a smaller headboard.)
- Screws
- Nuts and Bolts
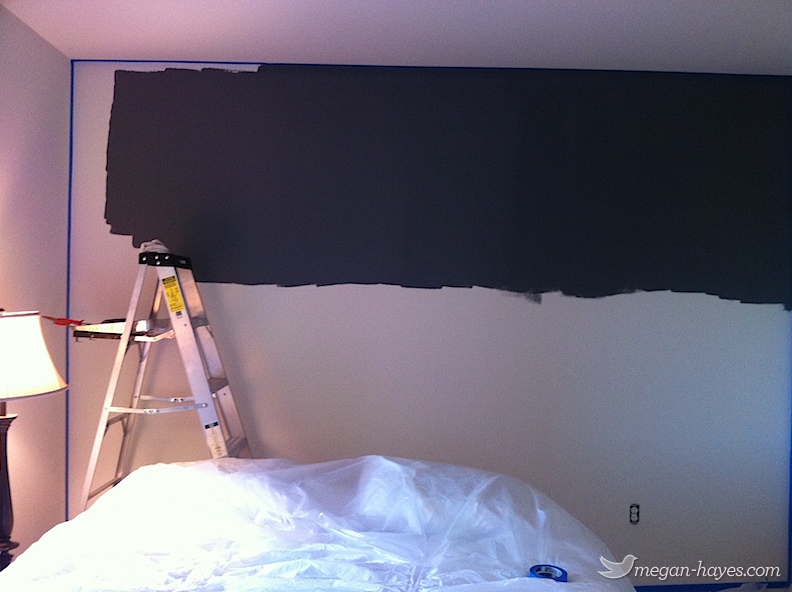
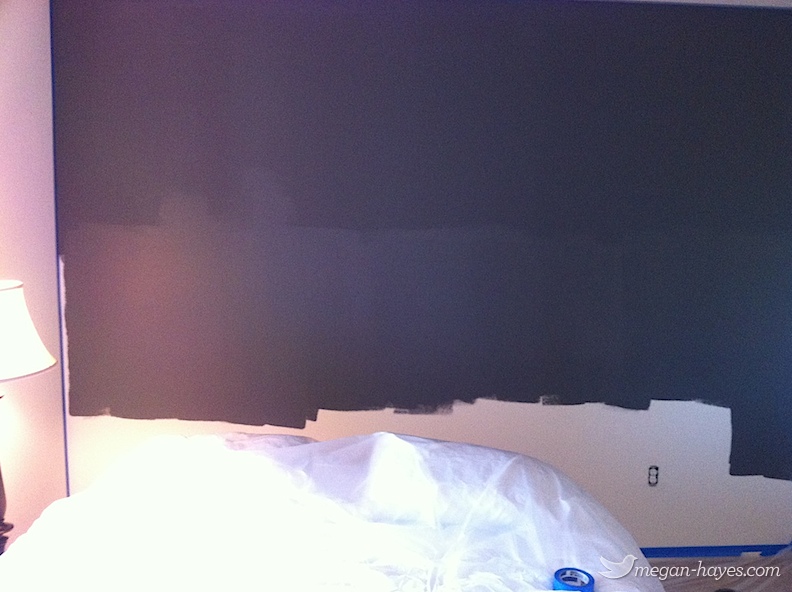
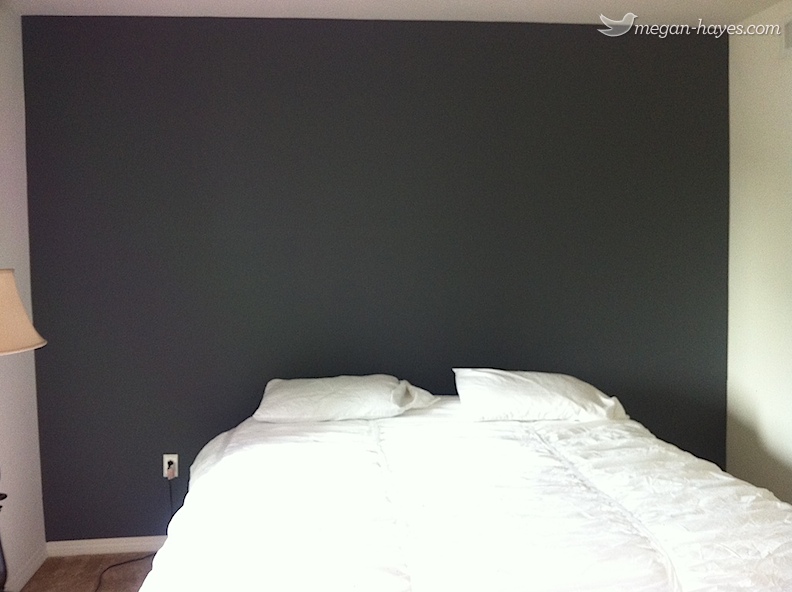
Then took on painting the accent wall for our room.
So I forgot to take photos during the upholstery part. The blogs above will give you lots of good info on that though. I put the headboard up off the ground using boxes since I didn’t have 2 sawhorses. I first measured and marked where the holes needed to be drilled for threading the buttons and then drilled the holes using a drill bit not to much bigger than my upholstery needle. Remember to have lots of extra fabric to account for the tufting. I made te mistake of not getting enough fabric and ended up using a white table cloth I had but rarely used. I plan to use the fabic I got from JoAnn’a for pillows instead. For the foam you’ll have to get several squares if you are using the 22×22 from JoAnn’s but they also sell it in rolls which is a little easier but sometimes more expensive.
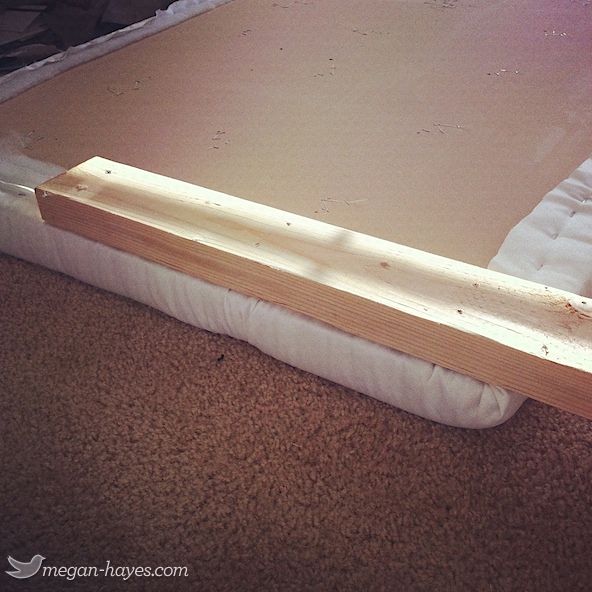
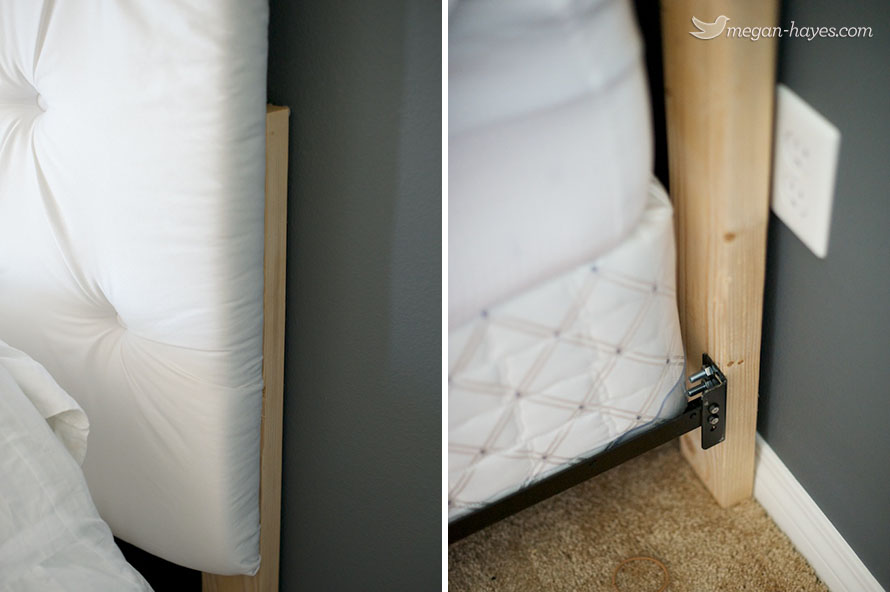
I pre-drilled 7 holes in the 2×4’s and then put the screws in to attach the legs to the headboard.
Stay tuned for Part 2 with pillows, nightstands and wall decor. Will post just as soon as I can make up my mind. 🙂
I love it! Looks a lot easier than it probably was haha. Can’t wait for part 2! 🙂